Building a RESTful API with Flask: A Beginner's Guide
Read about Building a RESTful API with Flask: A Beginner's Guide on Cosmi Skin
Many developers assume that building a robust backend for web or mobile applications requires years of specialized experience or navigating overly complex frameworks. In reality, crafting a powerful and scalable API is achievable for developers at all levels when using the right tools and clear guidance. Application Programming Interfaces (APIs) are the backbone of the digital world, enabling everything from social media feeds to e-commerce platforms to communicate seamlessly. Understanding how to construct them is a fundamental skill for any developer looking to bring their ideas to life.
This guide demystifies the process, demonstrating how to build a functional RESTful API using Python and the lightweight Flask framework. We will cover all the necessary steps, from understanding the foundational concepts of REST to setting up a development environment. You’ll learn why Flask is an excellent choice for a first API project, as its simplicity and extensibility allow you to get started quickly without unnecessary complexity.
By the end of this guide, you will have built your own RESTful API, complete with all essential CRUD (Create, Read, Update, Delete) operations and connected to a persistent database. We'll walk through defining API endpoints, handling client requests, and ensuring data integrity. This journey will equip you with the practical skills to design, implement, and test your own backend services, providing a solid foundation for building the core systems that drive today's dynamic applications.
TL;DR
This guide provides a complete roadmap for building a functional RESTful API from scratch using the Python Flask framework. It covers everything from initial setup to creating a data-persistent application with full CRUD capabilities.
A REST API uses standard HTTP methods to manage resources, and the lightweight nature of Flask makes it an excellent choice for this task. Its simplicity allows for rapid development while its extensibility supports complex applications. As noted in guides from sources like DigitalOcean, this "microframework" approach provides developers with flexibility without imposing a rigid project structure. The core process involves these key stages:
- Environment Setup: Create an isolated Python virtual environment and install necessary packages like Flask, Flask-RESTful, and Flask-SQLAlchemy.
- Endpoint Definition: Map URL routes to specific Python functions that will handle client requests for creating, reading, updating, or deleting data.
- Data Persistence: Evolve from using a simple in-memory list for data storage to a more robust SQLite database managed with an ORM.
- Functionality: Implement full CRUD (Create, Read, Update, Delete) logic to allow complete management of your API's resources.
- Testing: Use an API client like Postman or curl to send requests to your endpoints and verify that they behave as expected.
By following these fundamental steps, you can construct a robust and scalable backend service ready for real-world application.
What Are REST and APIs? A Quick Primer
Embarking on API development requires understanding the foundational concepts that enable modern applications to communicate. At its core, this involves grasping what an API is and the architectural style known as REST. These concepts are pivotal for building robust and interconnected software systems.
An API (Application Programming Interface) is a defined set of rules and protocols that allows different software applications to interact and exchange data. REST (REpresentational State Transfer) is a widely adopted architectural style for designing networked applications that emphasizes stateless communication and standard operations. This approach simplifies how clients and servers interact over the web, making data exchange efficient and predictable.
For developers seeking to understand the foundational principles, resources like MDN Web Docs explain that REST defines how an HTTP service can be accessed using standard web libraries and tools, making it highly accessible. This standardization is key to its widespread adoption.
RESTful APIs leverage standard HTTP methods for various operations, ensuring clarity and consistency:
- GET: Retrieves data from the server.
- POST: Submits new data to the server.
- PUT/PATCH: Updates existing data on the server.
- DELETE: Removes data from the server.
A RESTful API acts as a universal intermediary, enabling applications to request and manipulate data over the web using a standardized set of rules and HTTP methods. Data is typically exchanged in a human-readable format, most commonly JSON (JavaScript Object Notation), which facilitates easy parsing and manipulation across diverse platforms.
Why Choose Flask for Your First API?
When venturing into API development, selecting the right framework can significantly impact the learning curve and project success. For beginners, the choice often comes down to balancing power with simplicity, and Flask emerges as a compelling option for building an initial API. Its design philosophy prioritizes clarity and minimal overhead, making it exceptionally approachable.
Flask is recognized as a 'microframework,' meaning it provides a lightweight core with essential tools, allowing developers to integrate libraries for specific functionalities as needed. This unopinionated nature grants immense freedom, empowering you to choose components for tasks like database management or data validation without being constrained by the framework itself. The absence of extensive boilerplate code makes Flask easier to grasp, allowing beginners to focus on core API development concepts rather than navigating complex configurations.
As highlighted by sources like RealPython, Flask's design with scalability and simplicity in mind makes it an excellent choice for RESTful APIs, especially for those new to the domain. This focus ensures that foundational learning is not overshadowed by framework-specific complexities.
Note: Flask's minimalist approach means it doesn't force decisions on developers regarding database or templating engines, unlike larger, more opinionated frameworks. This flexibility fosters a deeper understanding of each component chosen for an API.
Flask's minimalist and flexible design makes it the ideal framework for beginners to learn API development fundamentals without the overwhelming overhead of a larger system. A vibrant ecosystem of extensions, such as Flask-RESTful for API development or Flask-SQLAlchemy for database integration, allows for seamless expansion of functionality as your projects evolve.
Step 1: Setting Up Your Development Environment
Before writing the first line of an API endpoint, a clean and isolated development environment is essential for project success. It ensures that your work is organized, portable, and free from external conflicts.
A virtual environment is a self-contained directory tree that includes a Python installation and specific libraries. Using one prevents dependency conflicts between different projects and makes your application easier to share and deploy. This practice of isolating project dependencies is a widely accepted best practice in the Python community, as detailed in numerous developer guides.
Verify Python Installation
First, confirm that you have Python 3 installed on your system. Open your terminal or command prompt and run the following command. You should see a version number likePython 3.x.x.python3 --versionCreate a Project Directory
Organize your project by creating a dedicated folder, then navigate into it. This will be the root of your API application.mkdir flask_api_project cd flask_api_projectInitialize a Virtual Environment
We will use Python's built-in venv module to create an isolated environment. This command creates a new directory (we'll call itenv) containing the Python interpreter and a fresh package installation directory.python3 -m venv envNext, you must activate the environment. The command differs based on your operating system.
- On macOS/Linux:
source env/bin/activate - On Windows:
env\Scripts\activate
Your terminal prompt should now change to indicate that the virtual environment is active.
- On macOS/Linux:
Install Required Packages
With the environment active, usepip, Python's package installer, to install the necessary libraries for our project: Flask for the web framework, Flask-RESTful for building the API, and Flask-SQLAlchemy for database interaction.pip install Flask Flask-Restful Flask-SQLAlchemyCreate a
requirements.txtFile
To ensure your project can be easily replicated by others or deployed to a server, it is crucial to document its dependencies. The standard way to do this is with a requirements.txt file. This command records all the packages and their exact versions currently installed in your environment.pip freeze > requirements.txt
By following these steps, you have established a robust, reproducible, and isolated environment, which is the cornerstone of professional Python development, a standard we adhere to in our projects.
Step 2: Your First Flask Application
Getting a web server running is often the first major hurdle for new developers. With Flask, you can build and launch a functional application that responds to web requests in just a few minutes.
This initial step involves creating a single Python file, app.py, that serves as the entry point for our API. The file will import the necessary Flask class to create our application instance and the jsonify function to format our Python dictionaries into proper JSON responses. The purpose is to establish a working foundation, demonstrating how a URL route maps directly to a Python function that handles incoming requests. This approach, which involves instantiating the application and defining routes with decorators, is a standard and effective pattern.
The following code represents a complete, runnable Flask application. Save this content in a file named app.py in your project directory.
# Import the Flask class and jsonify function from the flask library
from flask import Flask, jsonify

# Create an instance of the Flask class
# __name__ is a special Python variable that gets the name of the current module
app = Flask(__name__)

# Use the route() decorator to tell Flask what URL should trigger our function
@app.route('/')
def home():
    """This function responds to requests at the root URL."""
    # The jsonify function converts the Python dictionary to a JSON response
    return jsonify(message="Welcome to our first Flask API!")

# This conditional ensures the server only runs when the script is executed directly
if __name__ == '__main__':
    # The app.run() method starts Flask's built-in development server
    # debug=True enables auto-reloading and provides helpful error messages
    app.run(debug=True)
The @app.route('/') decorator is the key mechanism that links a URL to a specific piece of code. When a request hits your server's root address, Flask executes the home() function and returns its output. The if __name__ == '__main__': block is a Python convention that ensures the server only starts when you explicitly run this file. With this minimal setup, you have successfully built a web server that serves structured JSON data, forming the core of any RESTful API.
Step 3: Implementing All CRUD Operations
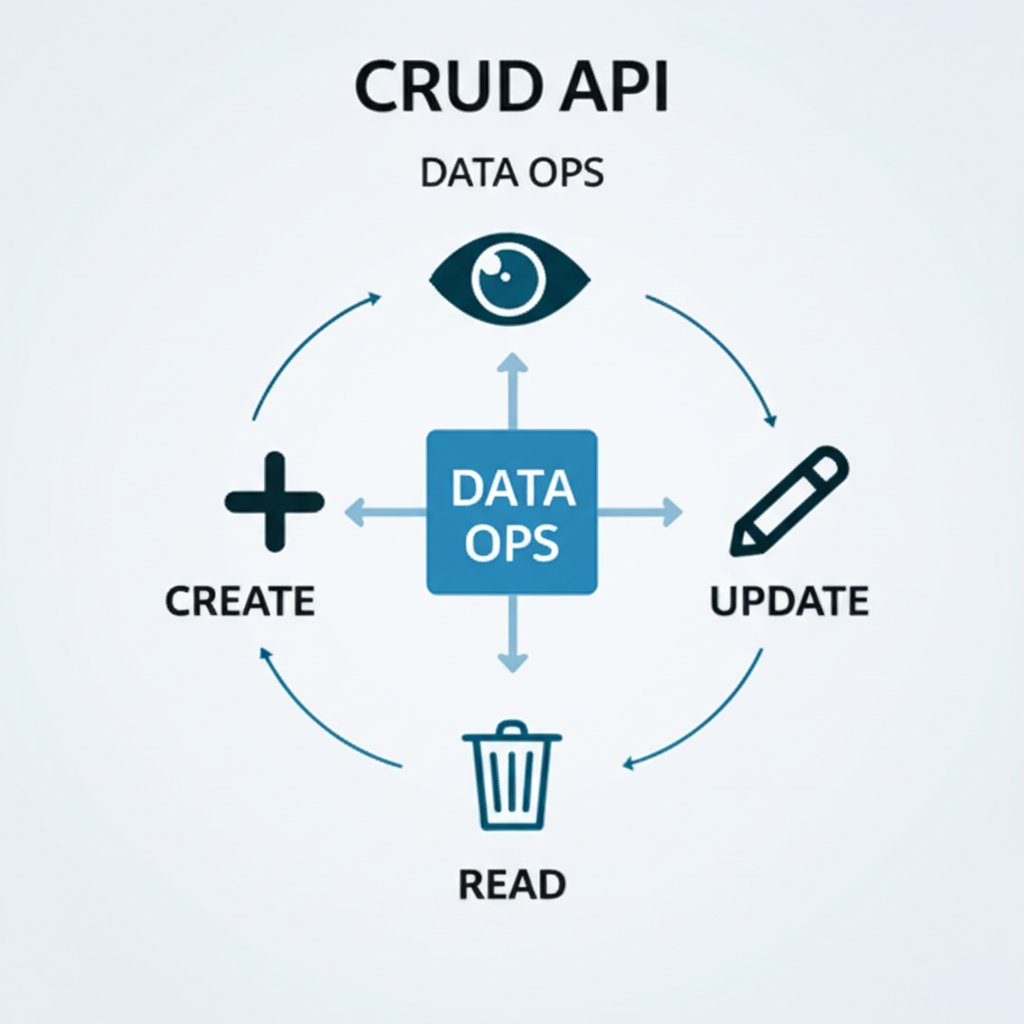
With a foundational Flask application in place, the next step is to build the core logic that enables clients to interact with data resources. This involves implementing the complete set of operations for creating, reading, updating, and deleting data.
These four functions—Create, Read, Update, and Delete (CRUD)—form the backbone of nearly every RESTful API. They provide a standardized, predictable way to manage the lifecycle of a resource. To focus on the API logic itself, we will begin by using a simple in-memory list of dictionaries as a temporary data store, deferring database integration to a later stage. Correctly handling HTTP methods and status codes for each operation is essential for building a compliant and functional API.
The following code implements all four CRUD operations for a simple "tasks" resource. We define endpoints for retrieving all tasks and a single task (Read), adding a new task (Create), modifying an existing task (Update), and removing a task (Delete). Each function is mapped to a specific URL path and HTTP method, ensuring a logical separation of concerns.
from flask import Flask, jsonify, request

app = Flask(__name__)

# In-memory data store (a list of dictionaries)
tasks = [
    {
        'id': 1,
        'title': 'Learn Python',
        'description': 'Complete a Python course on web development.',
        'done': True
    },
    {
        'id': 2,
        'title': 'Build a Flask API',
        'description': 'Create a simple RESTful API using Flask.',
        'done': False
    }
]
next_id = 3

# READ: Get all tasks
@app.route('/tasks', methods=['GET'])
def get_tasks():
    return jsonify({'tasks': tasks})

# READ: Get a single task by ID
@app.route('/tasks/<int:task_id>', methods=['GET'])
def get_task(task_id):
    task = next((task for task in tasks if task['id'] == task_id), None)
    if task is None:
        return jsonify({'error': 'Task not found'}), 404
    return jsonify({'task': task})

# CREATE: Add a new task
@app.route('/tasks', methods=['POST'])
def create_task():
    global next_id
    if not request.json or not 'title' in request.json:
        return jsonify({'error': 'Missing title in request body'}), 400

    new_task = {
        'id': next_id,
        'title': request.json['title'],
        'description': request.json.get('description', ""),
        'done': False
    }
    tasks.append(new_task)
    next_id += 1
    return jsonify({'task': new_task}), 201

# UPDATE: Modify an existing task
@app.route('/tasks/<int:task_id>', methods=['PUT'])
def update_task(task_id):
    task = next((task for task in tasks if task['id'] == task_id), None)
    if task is None:
        return jsonify({'error': 'Task not found'}), 404
    if not request.json:
        return jsonify({'error': 'Invalid request body'}), 400

    task['title'] = request.json.get('title', task['title'])
    task['description'] = request.json.get('description', task['description'])
    task['done'] = request.json.get('done', task['done'])

    return jsonify({'task': task})

# DELETE: Remove a task
@app.route('/tasks/<int:task_id>', methods=['DELETE'])
def delete_task(task_id):
    global tasks
    task = next((task for task in tasks if task['id'] == task_id), None)
    if task is None:
        return jsonify({'error': 'Task not found'}), 404

    tasks = [t for t in tasks if t['id'] != task_id]
    return '', 204

if __name__ == '__main__':
    app.run(debug=True)
In this implementation, the GET endpoints handle data retrieval, returning a 404 error if an ID is not found. The POST endpoint creates a new task by parsing the incoming JSON payload, assigning a new ID, and returns a 201 Created status. Similarly, the PUT method finds an existing task to update its fields, while the DELETE method removes a task and confirms success with an empty response and a 204 No Content status.
By implementing these distinct endpoints, you have created a complete and functional API for managing a resource's entire lifecycle.
Step 4: Adding a Database with Flask-SQLAlchemy
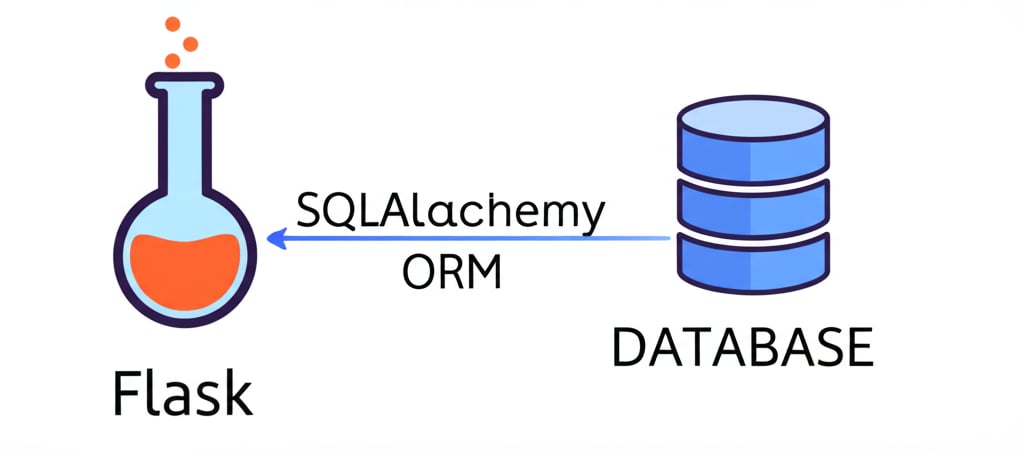
So far, our API has used a simple Python list to store data. While useful for initial development, this approach has a major drawback: all data is lost the moment the server restarts. To build a genuine application, we need a way to store information permanently.
This is where a database becomes essential, and Flask-SQLAlchemy provides an elegant way to integrate one. It is a Flask extension that adds support for SQLAlchemy, a powerful Object-Relational Mapper (ORM). An ORM allows you to interact with your database using high-level Python objects and methods, abstracting away the need to write raw SQL queries. This approach simplifies development, reduces potential errors, and keeps your database logic neatly organized. The use of ORMs to map application objects to database records is a widely adopted best practice.
To transition from our in-memory list to a persistent SQLite database, we will follow a clear, structured process. This involves configuring the extension, defining our data structure as a Python class, and then updating our endpoint functions to use SQLAlchemy's session management system for all create, read, update, and delete operations.
Install and Configure Flask-SQLAlchemy
First, add the extension to your project environment. Then, configure your Flask application to specify the database type and location, and initialize the SQLAlchemy object. We will use SQLite, a serverless, file-based database ideal for development and small applications.# In your terminal # pip install Flask-SQLAlchemy # In your app.py or equivalent from flask import Flask from flask_sqlalchemy import SQLAlchemy app = Flask(__name__) # Configure the SQLite database, specify the path app.config['SQLALCHEMY_DATABASE_URI'] = 'sqlite:///data.db' # Suppress a warning app.config['SQLALCHEMY_TRACK_MODIFICATIONS'] = False # Create the SQLAlchemy database instance db = SQLAlchemy(app)Define the Data Model
Next, we define our data structure by creating a model class that inherits fromdb.Model. Each class attribute represents a column in the database table. This class is the single source of truth for your data's schema.# Define the model for our 'items' table class ItemModel(db.Model): id = db.Column(db.Integer, primary_key=True) name = db.Column(db.String(80), unique=True, nullable=False) price = db.Column(db.Float(precision=2), nullable=False) def __repr__(self): return f'<Item {self.name}>'Create the Database and Tables
With the model defined, you need to create the actualdata.dbfile and the correspondingitem_modeltable. This is typically done once from a Python shell before running the application for the first time.# In a Python shell, after defining the app and db instance # from app import app, db # with app.app_context(): # db.create_all()Refactor Endpoints to Use the Database
Finally, replace all direct manipulations of the old in-memory list with SQLAlchemy queries and session commands. Thedb.sessionobject manages database transactions.Create (POST
/item): Instead ofitems.append(), we create anItemModelinstance, add it to the session, and commit the transaction to save it.# POST /item new_item = ItemModel(name=data['name'], price=data['price']) db.session.add(new_item) db.session.commit()Read (GET
/item/<int:item_id>): Instead of iterating through a list, we use thequery.get()method for an efficient lookup by primary key.# GET /item/<id> item = ItemModel.query.get(item_id) if item: return {'name': item.name, 'price': item.price}Delete (DELETE
/item/<int:item_id>): We first retrieve the item, then usedb.session.delete()to mark it for deletion, and finally commit the change.# DELETE /item/<id> item = ItemModel.query.get(item_id) if item: db.session.delete(item) db.session.commit() return {'message': 'Item deleted.'}
By integrating a database, you transform the API from a stateless prototype into a stateful application capable of persisting information across sessions.
Step 5: Testing Your API with an HTTP Client
With your endpoints defined and the database connected, the next step is to verify that everything functions as expected. This validation process is where an HTTP client becomes an indispensable part of your workflow.
An HTTP client is a tool that allows you to send specific HTTP requests to your API and inspect the responses. Using a client like the command-line tool curl or a graphical application like Postman helps you validate your application's logic, data handling, and overall behavior from an external perspective. This practice of direct interaction is a standard part of the development lifecycle because it isolates the backend for focused testing.
The following steps demonstrate how to test each CRUD endpoint using curl.
Create a New Item (
POST)
Send aPOSTrequest with a JSON payload to the/api/itemsendpoint. The-Hflag sets theContent-Typeheader to inform the server we are sending JSON data, and the-dflag contains the data itself.curl -X POST -H "Content-Type: application/json" -d '{"name": "My First Item", "description": "A test item."}' http://127.0.0.1:5000/api/itemsYou should receive a
201 Createdstatus and a JSON response representing the newly created item, including its unique ID.Retrieve All Items (
GET)
Now, send aGETrequest to the same endpoint to see a list of all items. You should see the item you just created in the response array.curl http://127.0.0.1:5000/api/itemsUpdate an Existing Item (
PUT)
To update an item, send aPUTrequest to/api/items/<id>, replacing<id>with the ID from step 1. Provide the updated data in the request body.# Replace '1' with your item's actual ID curl -X PUT -H "Content-Type: application/json" -d '{"name": "My Updated Item", "description": "An updated test item."}' http://127.0.0.1:5000/api/items/1Delete an Item (
DELETE)
Finally, test the deletion functionality by sending aDELETErequest to the specific item's URL.# Replace '1' with your item's actual ID curl -X DELETE http://127.0.0.1:5000/api/items/1A successful request should return a confirmation message and a
200 OKor204 No Contentstatus. Running theGETrequest from step 2 again will now return an empty array, confirming the deletion.
Systematic endpoint testing ensures your API is reliable, predictable, and ready for integration with other services or front-end applications.
You have taken an important step in your backend development journey by learning the fundamentals of building a RESTful API with Flask. This guide has equipped you with the core knowledge and practical skills needed to create robust and efficient web services, serving as a solid launchpad for future projects.
Here are your key takeaways from this guide:
- You have a clear understanding of RESTful architecture and why Flask's simplicity and extensibility make it an excellent choice for rapid API development.
- You have gained hands-on experience in setting up a development environment, defining API endpoints, and implementing comprehensive CRUD operations.
- You understand the importance of data persistence through database integration with Flask-SQLAlchemy and the necessity of testing with tools like Postman to ensure API reliability.
The next logical step is to continue building on this foundation. Consider expanding your API by integrating user authentication, implementing more sophisticated error handling, or deploying your application to a cloud platform. To explore these advanced topics further, check out comprehensive guides like the ones available here. Building a RESTful API with Flask is a foundational skill that provides a versatile and powerful method for creating the backend services that drive modern applications.